Toddlers learn by seeing, touching, and sensing the world around them. To explore and get feedback on things they experience on a regular basis, they use their senses. As parents, though, we have to make sure we expose them to a range of sensory experiences. A good way to do so is with sensory boards. Continue reading for DIY sensory board ideas for children.
What Is a Sensory Board?
A sensory board is a board with a variety of toys, textures, and objects that are placed together to provide children with a special sensory experience. It is possible to touch, feel, and play with these boards and keep kids occupied. You’ll find them to be a great help if your child fails to concentrate or has a limited attention span.
However, you have to be careful when building a sensory surface. It is necessary to make sure the board does not consist of pieces that are a choking hazard.
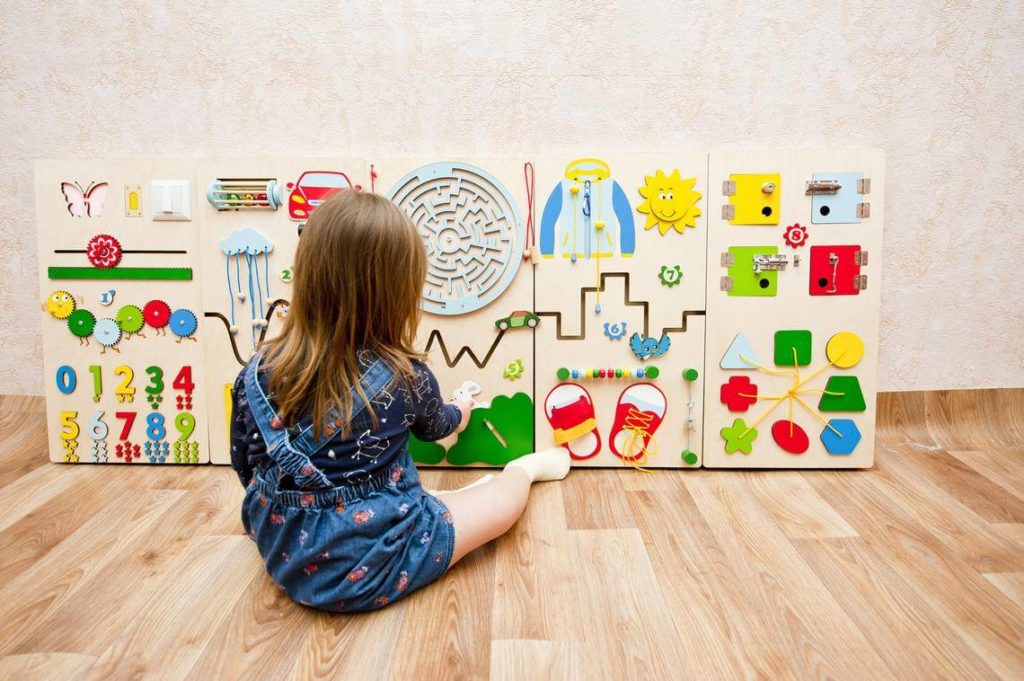
Image Source- Bamblebee Smart
Benefits Of Sensory Board For Children
Here is a list of sensory board benefits for children:
1. Encourages creative play
Sensory boards that include drawing or some sort of activity in the painting can be an excellent way to strengthen the imagination of a child. Certain boards with sounds and lights help children pay attention and teach them how to concentrate.
2. Teaches basic vocabulary
The children’s language works with colored letters, numbers, and types. They not only develop your visual vocabulary, they also teach kids the alphabet and simple pre-school lessons.
3. Hands-on activity
Children learn how to use their hands to move their fingers differently. When they collect, plug, and drop the boards, you work your skills and become smarter.
4. Simple to make
You don’t have to make these boards with fancy equipment. You should let your kids join them and build them together if they are a little older. Parental guidance is recommended when they play with these boards.
Importance of Sensory Boards for Children
When your child grows up, you become curious and learn through your senses. Sensory boards not only teach children how to work with their hands and senses, but also other things. They could take things on the board and study them. If you play or push with a squishy ball, you get an idea of what happens when you push, pull, or connect with various objects.
Every item on a sensory board varies wildly, which enjoys the action. The movements involved in dragging, pushing, and spinning often eventually exercise their rough motor and fine motor skills. As a result, your child is building hand-eye coordination, which is an important skill for proper growth and development. Calculator, clamp, and latches feature the most basic sensory boards but you can be innovative if you’re creating your own DIY versions at home.
DIY Sensory Board Ideas For Children
1. Basic Sensory Board
The good news is, if you’re trying to build a simple sensory board for your kids, it’s not too hard. To gather the materials, you will have to visit a hardware store along with your nearest arts and crafts store. Here’s the way to get started.
Materials Needed
- Chain
- Calculator
- Old switches
- Colored numbers and shapes
- Plywood or a wooden base
- Sandpaper
- Paint tubes
- Old latches
- Doorknobs
- Old locks
- Abacus
- Wood glue
- Nails and screws (1-inch size)
How to Make
- Using the sandpaper to clean up the fillet and ensure no splashes of dust.
Get a hammer or screwdriver and put the calculator, chain, and other materials in place. - Use the nails to create holes for these attachments to ensure that the objects are spaced uniformly.
- To attach the colored numbers and shapes to the frame, use wood glue. This makes for outstanding DIY sensory board ideas for children.
2. Sensory Board With Feathers
This sensory board takes the children on a sensory path with the textures of light feathers and loofas in the bathroom. It’s a very fun experience building it.
Materials Needed
- Feathers
- Bathroom loofas
- Tissues
- Felt
- Colored pompoms
- Trash bag
- Pipe cleaners
- Popsicle sticks
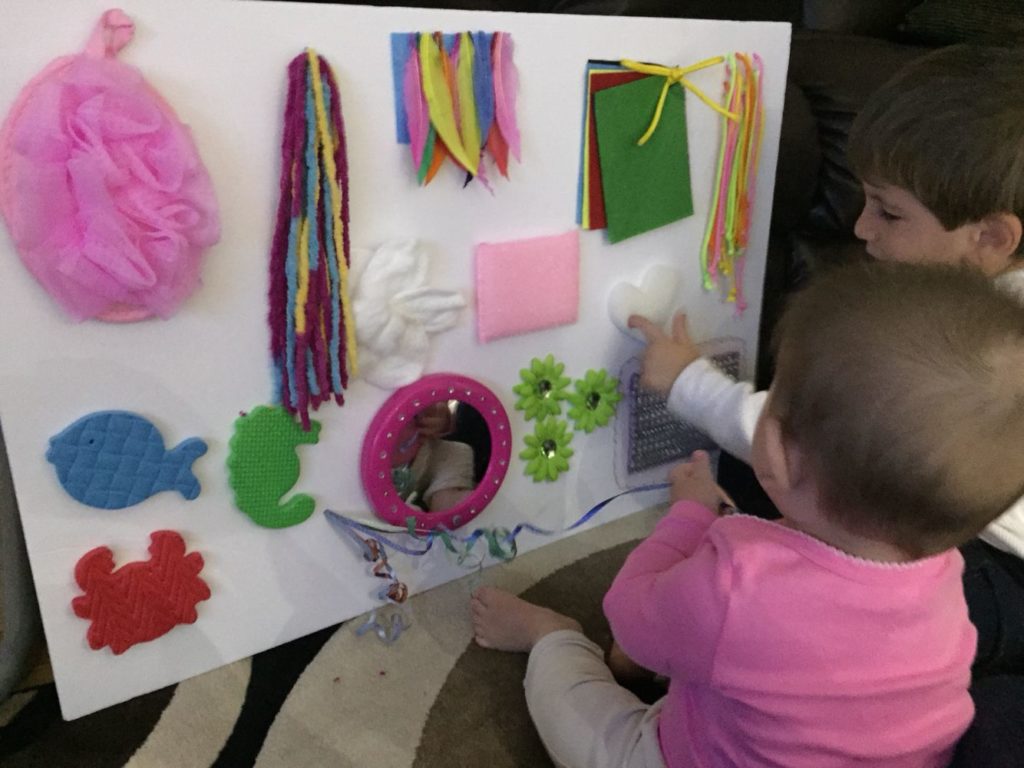
Image Source- Pinterest
3. Textured Sensory Board
Just a few household items, a hot glue gun, some free time, and voila – you’ve got a textured sensory surface! If you don’t have a carton, you can use a latch board base like plywood or wood.
Materials Needed
- Different colored fabrics
- Straws
- Non-slip rubber
- Cupcake wrappers
- Clean face washer
- Hot glue gun
- Rock
- Wood
- Bubble wrap
- Cardboard base
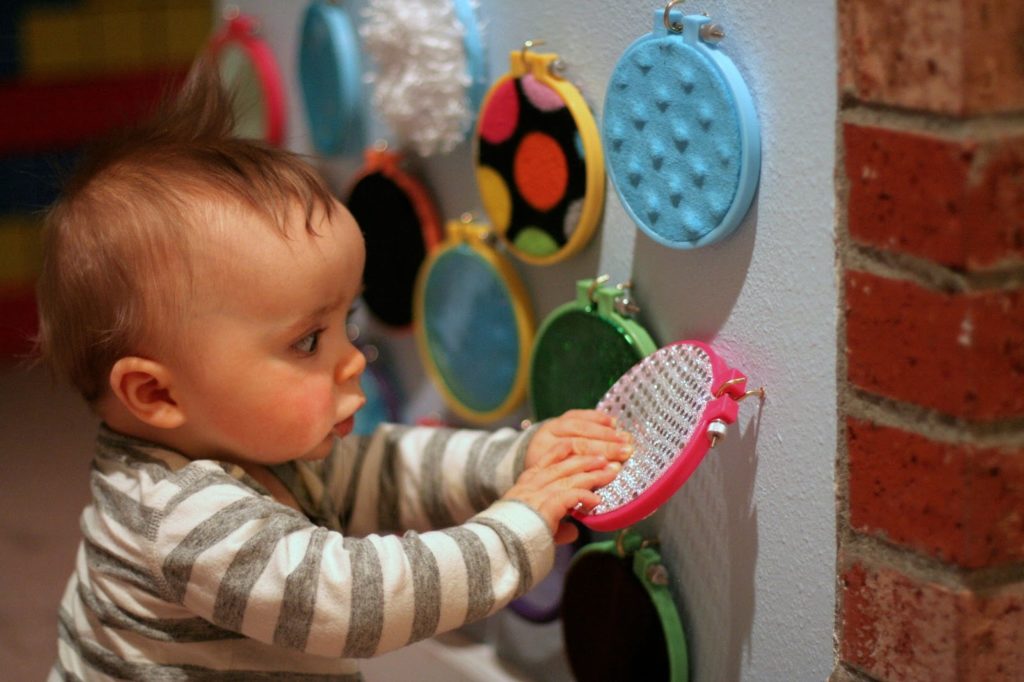
Image Source – Funathomewithkids
4. Glitter Sensory Board
If you want your sensory boards to pop out, consider using some glitter. With just the base, the tape, and the materials below, you’re going to be set. After that, you just have to play in the living room with the board and encourage your kid to go wild. It’s a fantastic DIY sensory board for children.
Materials Needed
- Different colored fabrics (with various textures)
- Straws
- Googly eyes
- Felt
- Plastic buttons
5. Fabric Sensory Board
Get the following things onto a wooden board and paste them. With many q-tips, fabrics, and fun textures your special sensory boards will be ready in no time. It is ideal for babies and older children alike as a homemade sensory board.
Materials Needed
- Textured papers
- Rug
- Buttons
- Glitter paper
- Hair elastics
- Textured cardboard
- Straws
- Sponges
- Beans
So, these are 5 DIY sensory board ideas for children.
It is necessary to ensure that you spend adequate time drying the glue. Having a sense of distance between an item is important and allows your baby to explore the items. Double-check to ensure you don’t have any danger to the pieces you use to make sensory boards. Look them right on your board so your child can touch them, feel them, and explore, but can’t remove them. And this involves the fundamentals of making your own sensory boards for DIY. Make sure you have fun and take your time with this process. These five boards can be tweaked and made your own. This is precisely what we promote, in fact.
You will explain them in terms and name them one at a time while your child interacts with the sensory board and feels the things out. It will allow them to understand what they deal with and make the world around them more understandable. The best way to describe these things involves wording as fluffy, tight, rough, squishy, and simple. Don’t be afraid to put the board on the deck, pull or slam. The boards will not break up and withstand wear and tear if you use a plywood base.
Also Read: Importance Of Sensory Bins For Children